June 3, 2026 Affordable Technician Team Verified Guide
Roof leaks can cause thousands in damage to your drywall, insulation, and electrical systems if not addressed immediately. If you have missing or damaged shingles after a high-wind storm, you need to act before the next rain.
### Materials Needed:
- Professional-grade roofing sealant (flashing cement)
- Hammer and roofing nails (1.25")
- Replacement shingles (match your existing color if possible)
- Flat pry bar
### Step 1: Locate the Entry Point
The spot where water is dripping from your ceiling is rarely where the leak is on the roof. Water travels along rafters. Go into your attic with a flashlight during a rainstorm to find the entry point. Look for dark stains or "shimmering" water on the wood.
### Step 2: Prepare the Area
On the roof, clear away any loose granules, dirt, or moss around the damaged area. A clean surface is required for the sealant to bond.
### Step 3: Remove the Damaged Shingle
Use your flat pry bar to carefully lift the shingles *above* the damaged one. This will reveal the nails. Pry the nails out and slide the damaged shingle out.
### Step 4: Apply Sealant and New Shingle
Apply a generous amount of roofing sealant to the underside of the new shingle and the area where it will sit. Slide the new shingle into place, nail it down, and then apply another dab of sealant over the nail heads to ensure they are watertight.
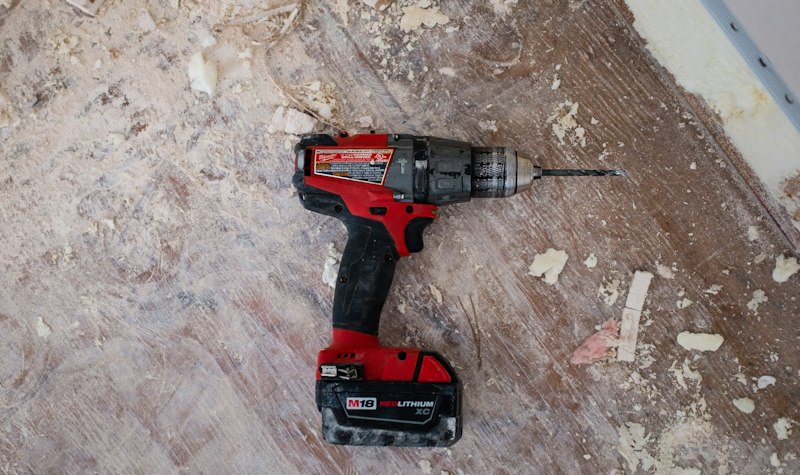
Essential Tools
Too complicated?
Don't risk your safety. Let our AI agents find you the best professional for the lowest price. Sourcing is 100% Free.
Start Free Negotiation